Form Attachments
- Steve VanDyke
- Josh Witmer
Search
Form Attachments Default Folders
Default form types within the projectteam.com system are automatically added as folders to the Form Attachments area for each project. Additionally, all newly created custom forms adds a relevant folder for that custom form to Form Attachments. Folders cannot be manually added to the Form Attachments area.
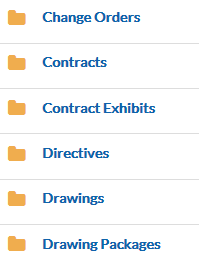
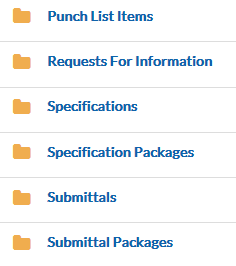
The following is a list of default forms:

Form Attachments Sub Folders
Each form added to a form type automatically creates a sub folder under that form type. The following is an example.
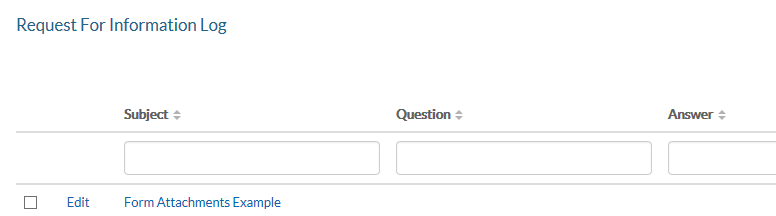
- Default Form Type - Request for Information
The image on the left displays the Request for Information Log where form 'Form Attachments Example' has been created. The image on the right displays the bread crumb trail where folder 'Form Attachments Example' has been created under the Form Attachments\Request for Information folder
 L----R
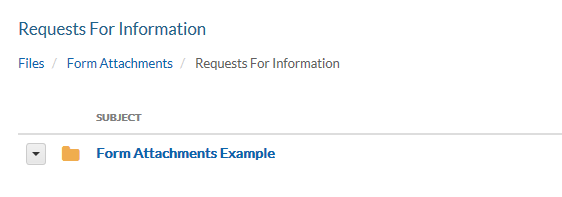
Form Attachments Display
This section provides information on the display and function of the Form Attachments area.
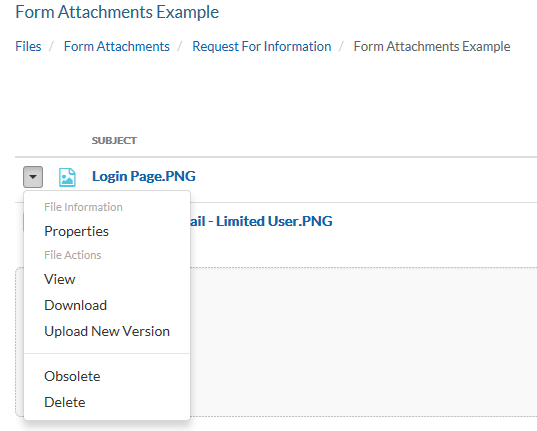
- Bread Crumb Trail - The main root of the File Management System is FILES. The Form Attachments folder resides under this root. Each form type is auto-created at the onset of project creation or the creation of a new custom form. Under each main form folder, a folder is automatically added for each form created on that form type. Hence you may see a bread crumb trail of 'Files/Form Attachments/Form Type/Forms. The bread crumb trail can be used to navigate through folders as necessary by simply clicking on the desired folder link in the bread crumb trail.
- Columns
- Subject - The following subject information applies
- File Type Icon
- File Name
- File Version tag - The original version of the file is version 1. For each version of the file that is uploaded/attached, the version tag increments by that version
- Name - The user name and company of the user who uploaded the file. The information in this column changes for each new version of the file that has been uploaded/attached to the user name and company that uploaded the latest version of the file.
- Date - The date/time the attachment was uploaded. The information in this column changes for each new version of the file that has been uploaded/attached to the date/time that the latest version of the file was uploaded.
- Size - Defines the file size
- Subject - The following subject information applies
- Folder View - Viewing the parent folder for any form type displays the following columns
- Form Type - The name of the form type
- Name - Identifies the creator of the folder
- System - Created by the system (Defaults)
- User - Displays the User Name and Company that created the custom form
- Date - Displays the date/time the custom form was created. System folders will display --
- Size - Viewing this column on the folder level displays the number of files with the displayed folder and any sub folder
- Attachments View - Viewing files within a folder displays the following columns
Adding Attachments
While you cannot add attachments to the root of Form Attachments or the parent folder for any form type, the following information provides instructions on how to add attachments to forms within that form type.
- Attachments Panel - This is the typical method for adding attachments. Viewing each form displays an Attachments Panel on the form itself. To add an attachment to the form, click the 'Add Attachment' drop down selecting options 'From Existing Files' or 'From My Computer'. Once the file has been added to the form, the attachment will be displayed on the form attachments panel as well as the in the folder that represents that form under Files/Form Attachments.
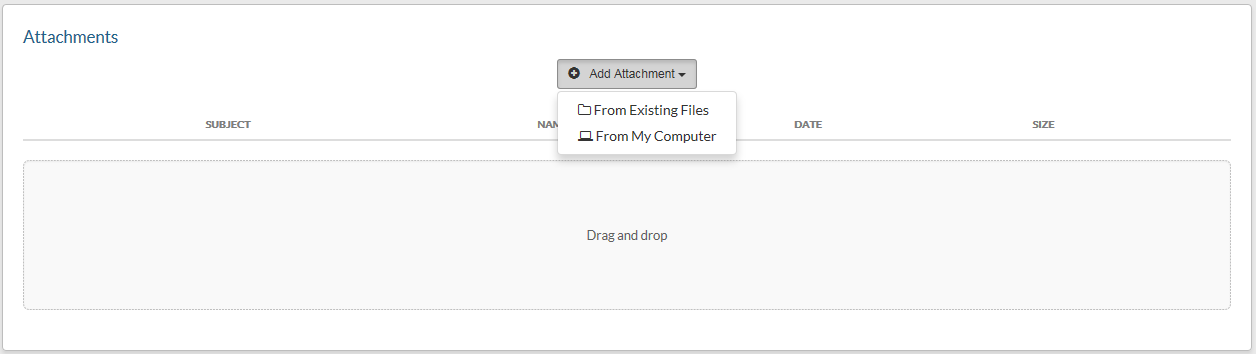
- From Existing Files - Adds the attachment from files that already exist in the File Management System;
- From the Project Files area
- From the Form Attachments area
- From My Computer - Adds the attachment selected from a location on your computer. Alternately, the Drag and Drop window can be used to upload attachments from your computer.
- Form Attachments - While attachments can not be added to the parent folder for any form type (e.g. Request for Information), they can be added to any existing sub folder that represents an existing form for that form type. To do this, navigate to the sub folder that represent the form to which you wish to add the attachment and click the 'Add Attachment' button. This is similar to adding the attachment to the attachment panel from the form directly but done from the folder within Form Attachments. Additionally, the 'Drag and Drop' method of adding attachments can be used either from Form Attachments or the Attachments Panel of the form.
-
- Project Email - Projectteam.com offers a robust feature called Project Email where team members can email the project and track correspondence in this manner. Those project emails can contact attachments. When sending an email to the project that contains an attachment, that attachment is automatically added to the attachments panel for that email and added to the Form Attachments/Emails folder for that form. For more information on Project Emails, please reference the help section /wiki/spaces/AR/pages/24674345

Deleting Form Folders
Form Folders cannot be deleted from within the Form Attachments area. If the form itself however is deleted, the form folder and its attachments are also deleted from the Form Attachments area. For example; A custom form type called 'Example Form' has been created and a form under that custom form type has been added with attachments. Each form created under the custom form type auto-creates a folder under Form Attachments/Example Form. Any attachments added to the form are added to that folder under Form Attachments/Example Form. Assuming the form has not been shared, the form can be deleted. When a form is deleted, the corresponding form folder and any attachments within that folder are also deleted, hence in this example the 'Example Form' folder would be deleted.
Obsoleted Forms
Forms that have been marked as Obsolete hide that form's folder under Form Attachments/Default Forms/Obsoleted Form. Should the Obsolete tag be removed from the form, the form's folder will once again be made present under Form Attachments
Halted Forms
Forms to which you have been halted will not display that form's folder under Form Attachments. Essentially, you must have access to view the form in order to view the form's folder and attachments.
Renaming Attachments
Attachments can be renamed in several ways
- File properties - Edit. In the FILES area under Form Attachments, locate the folder that represents your form and document. Click the file drop down choosing 'Properties' Edit the file entering the new File Name and click 'Save'.
- Attachment drop down - On the Form 'Attachments' panel, click the attachment drop down on the left. Choose 'Rename'. Enter the new name of the attachment. Note that when using this option, the full file name is highlighted including the file extension. Ensure that when renaming the attachment that the file extension remains the same.
- Pencil Icon - When hovering over an attachment, a pencil icon will appear. Click the pencil icon and rename your attachment in the 'Rename File' modal. Click 'Save' to save the renamed file.
Deleting Attachments
Form attachments that have not been shared can be deleted from within the attachments panel on the form or from within the form folder under Form Attachments. To delete form attachments use one of the following methods
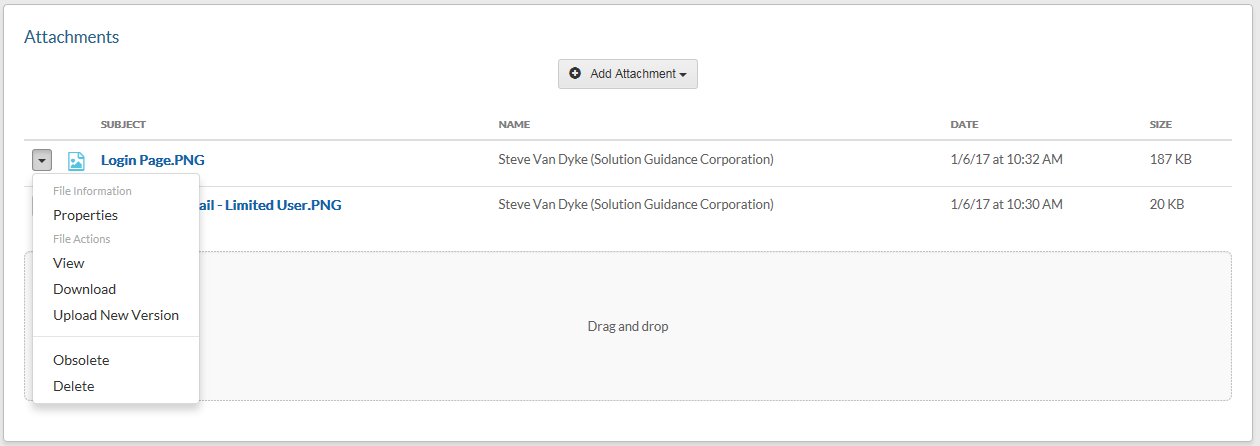
- From the form attachments panel - Click the drop down next to the file of choice selecting 'Delete'
- From within the Form Attachments folder - Select the drop down next to the file of choice selecting 'Delete'
Helpful Screenshots